Finding content and building a presentation
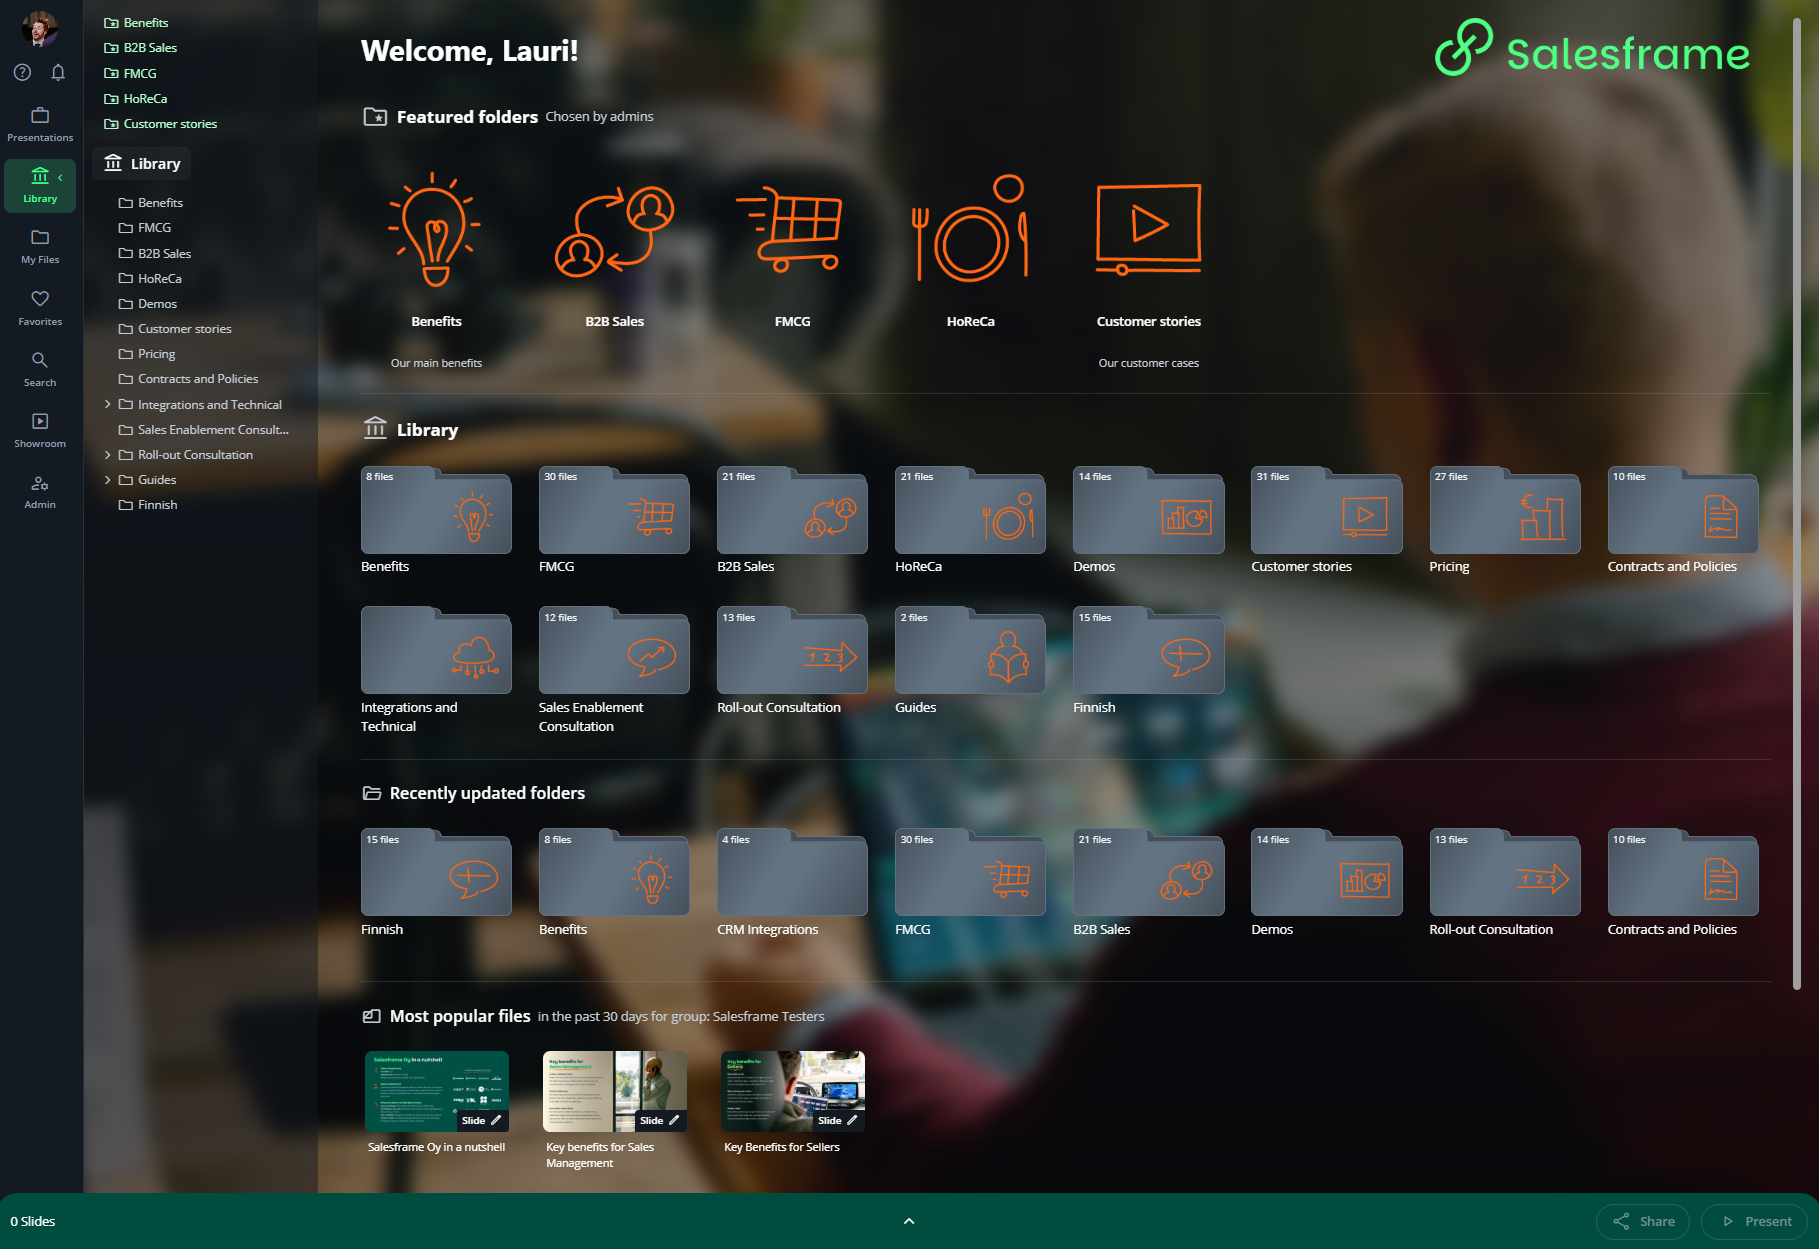
When you open Salesframe, you land in Library. This is the home for all sales content your admins have prepared for you. Here are the three main ways to find admin-curated content in Salesframe:
The screen has three main parts:
Left sidebar with the main menu and folder tree
Middle area with large folder tiles
Bottom bar with your presentation deck, where chosen slides appear
You always start by finding the right content, then you add it to the deck at the bottom.
1 - Find the right content
Browse folders
Open Library from the left sidebar (if you’re not there already).
You can move around in two ways:
Click the folder tiles in the middle
Or click folders in the folder tree on the left
Both views show the same structure, created and maintained by your admins.
Open a folder to see the slides, documents and other content inside it. You can keep drilling down until you find the material you want.
Jump straight to something with Search
If you already know what you’re looking for (for example “pricing” or a product name), open Search from the left sidebar.
Type your search word or phrase
Results are grouped into Folders and Files so you can either jump into a folder or open a specific slide or file.
You can refine your search with:
commas (,) to separate search terms
quotes (") for an exact phrase
minus (-) to exclude a word
For example:
pricing, "subscription plan", -legacy
This will look for items related to pricing, require that they contain the exact phrase “subscription plan” and leave out anything that includes the word “legacy”.
Use “Recently Updated” or “Most Popular”
On the Library front page you’ll also see:
Recently updated folders – quick way to jump into areas where content has just been added or refreshed.
Most popular files – content your colleagues have used the most in the past days.
These are good starting points if you’re new to Salesframe or just want to find what other sellers rely on.
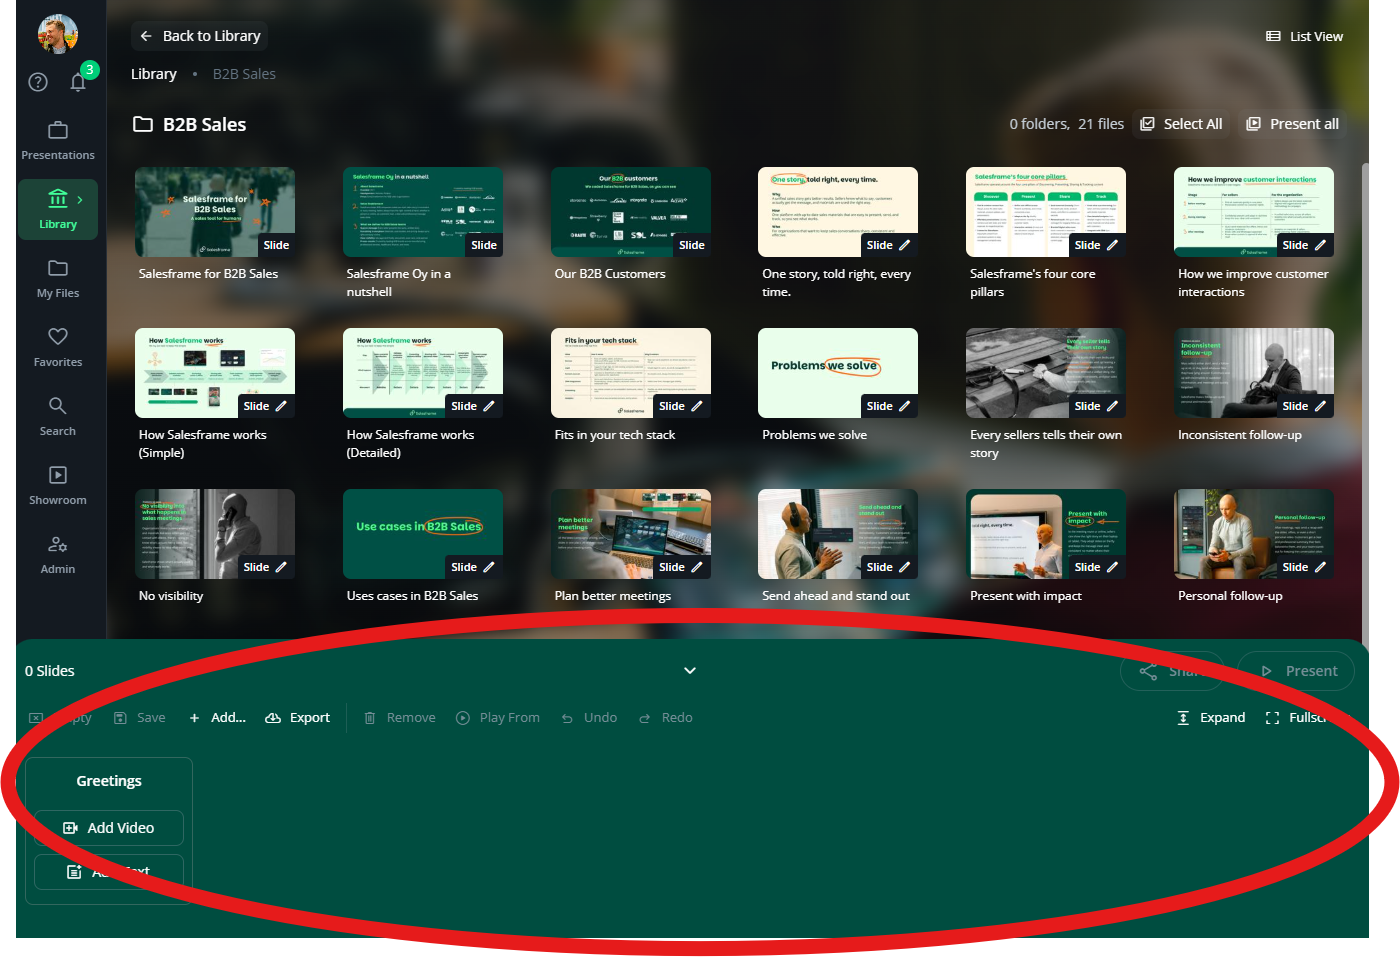
2 - Adding content to your presentation deck
The green bar at the bottom is your presentation deck. You can click it to expand the deck, which makes it easier to see and arrange slides.
You can add content to a deck in four ways:
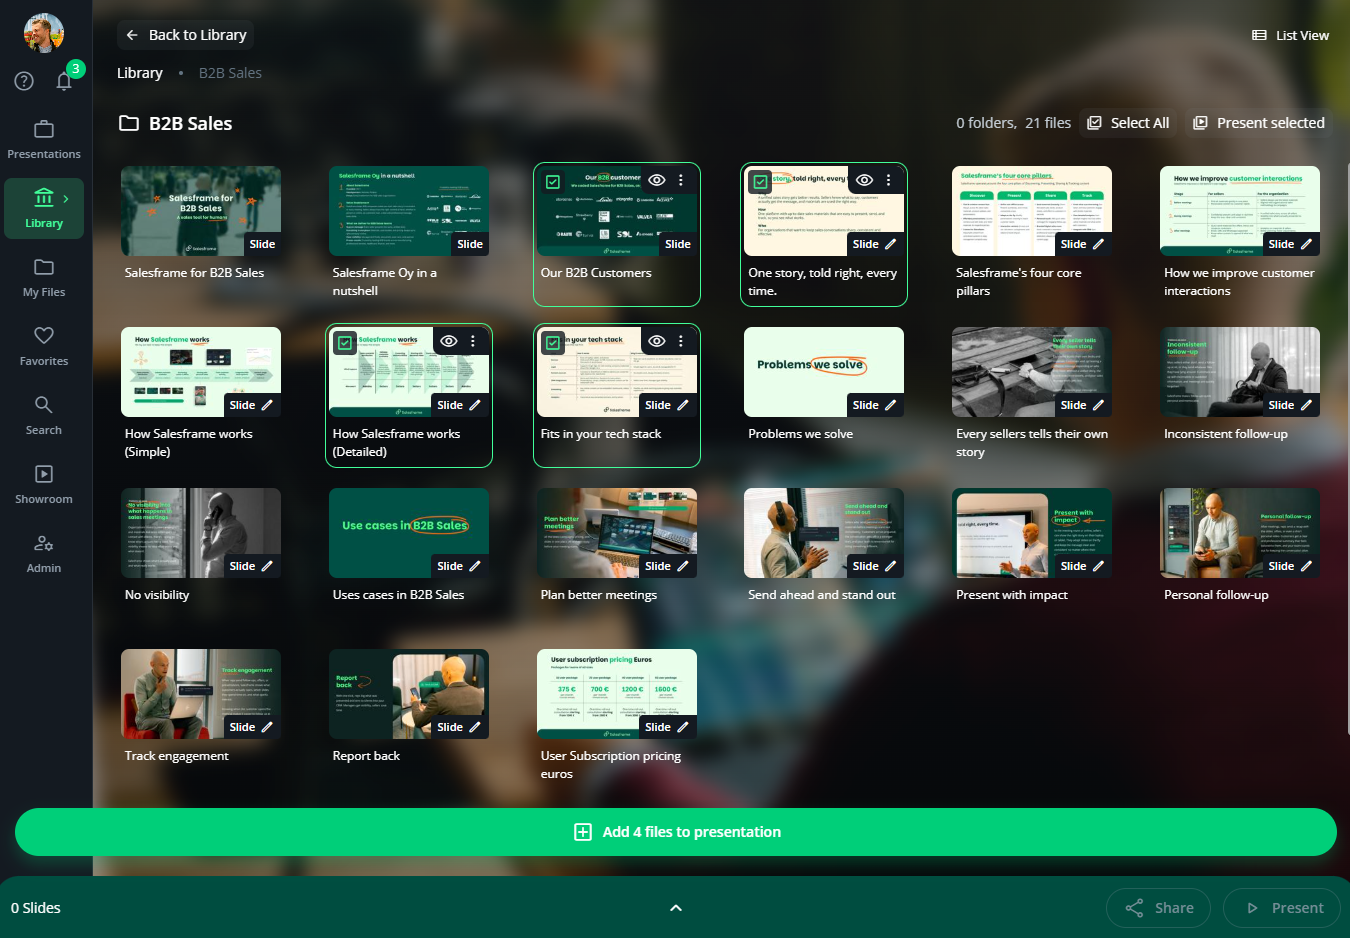
Click slide tiles in Library
Click one slide or many
Selected slides are highlighted in green
When you are ready, use the green bar that appears, for example Add X files to presentation
Slides are added to the deck in the order you clicked them
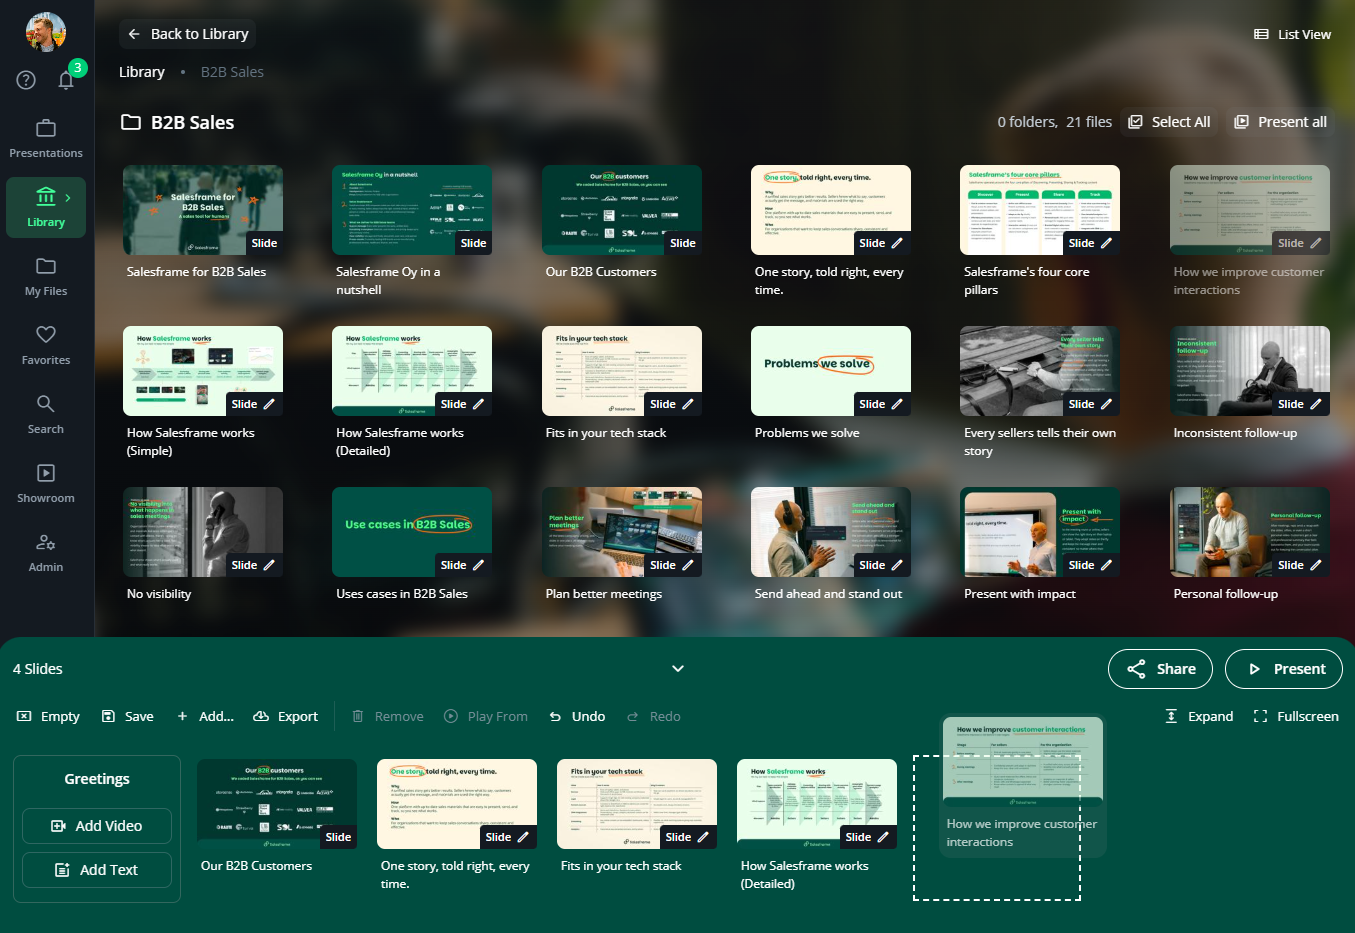
Drag and drop
Grab a slide and drag it down to the deck
Drop it exactly where you want it in the order
This is useful when you already know the position for a new slide
Add your own content
In addition to content that already lives in Library, you can bring in your own material:
Upload from your computer directly into the deck. The file is added to the current presentation and saved in My files for later use.
Add embedded links and files such as URLs or online documents, so your deck can include both normal slides and external content in one flow.

You can mix and match content from:
any folders that you can access in Library
saved presentations
your My files area
Salesframe can handle over 50 different file types, so you can build one deck that contains slides, PDFs, links, videos and more.
3 - Arrange and manage your deck
Once you have content in the deck you can:
Reorder content by dragging it to a new position
Remove content from the deck without deleting it from Library
Clear the deck in one click if you want to start over
You can also expand and full screen the deck:
Click the small arrow to expand the deck so you see more slides at once
Use the Fullscreen button in the deck to focus only on building and arranging your presentation
“If you like to prepare early, you can build a presentation days before a meeting, save it, and then reuse it later. If you use the same presentation for another customer, create a duplicate first so you keep a clean copy for each case.”
4 - Editing slides while you build
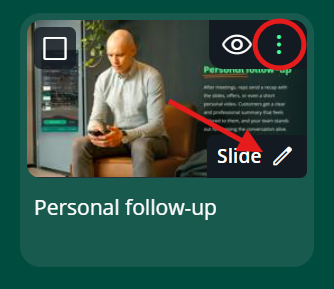
Depending on permissions set by your admins, some slides and files can be edited directly in Salesframe.
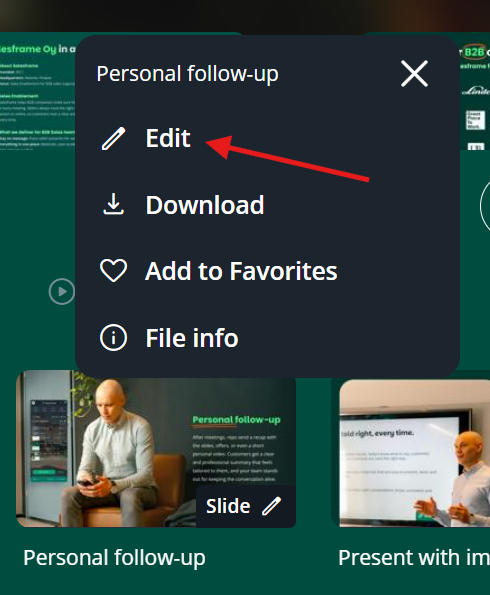
Editable items show a pen icon
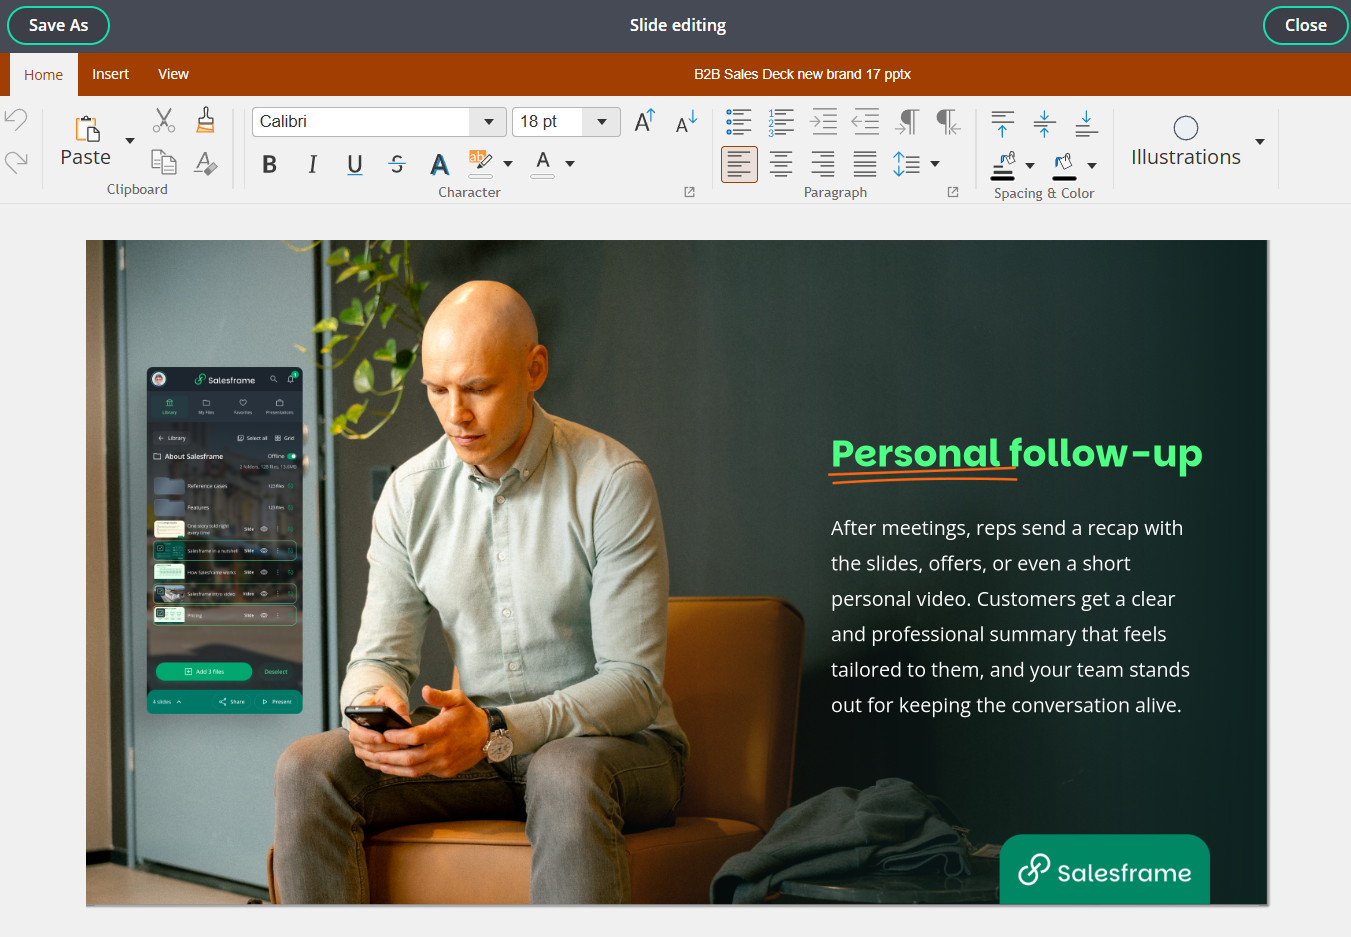
Clicking the pen opens the file in an editor (for example PowerPoint, Word or Excel inside Salesframe)
When you edit something you are not changing the original in Library. Salesframe creates a copy just for you, so the original stays the same for everyone.
When you hit Save As, you can:
Give your file a name – for example Personal follow-up
Choose a folder in My files where the file will be stored, such as Edited slides
Decide if it should be added to your current presentation by ticking or unticking Add to Presentation
This flow is the same for PowerPoint, Word and Excel files.
After saving:
Your personal version is available in My files for later use
If Add to Presentation was selected, the edited file also appears directly in your deck
Other users do not see your personal edits unless you share the resulting presentation or file with them.